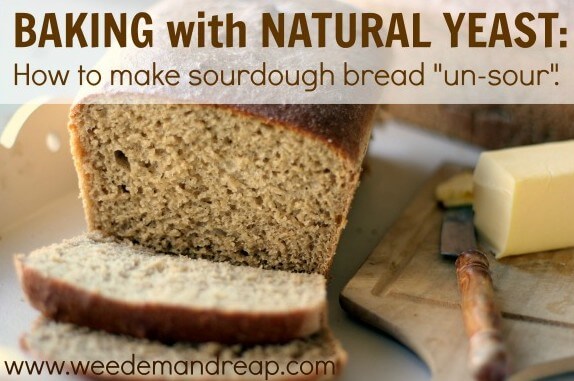
- What makes sourdough “sour” is not the natural yeast, but rather the healthy bacteria that naturally grows alongside it. If you add more yeast, it’ll rise about a bit faster which will help reduce the natural growth of bacteria. Normally you add 1/2 cup of natural yeast to a bread recipe, but in this one, I’m going to have you add 2 cups.
- By adding baking soda, you can counteract the tangy flavor that the bacteria creates.
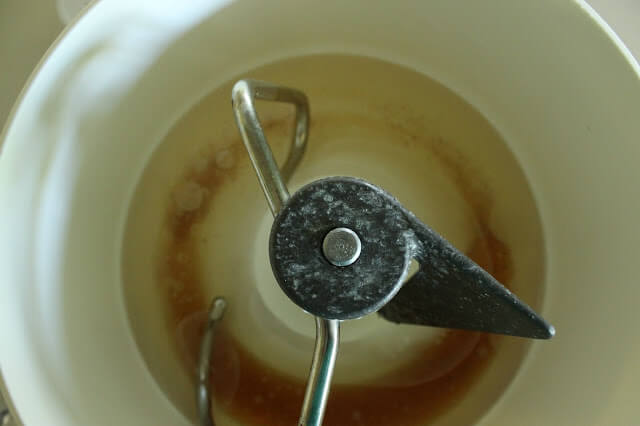 |
| Get started with your water, salt, coconut oil & honey. |
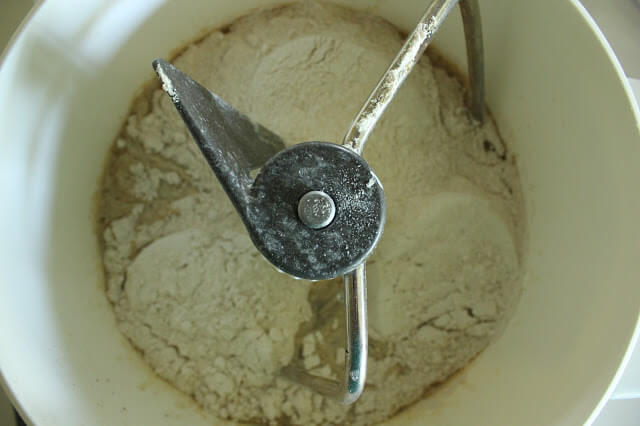 |
| Add your natural yeast & 2 cups of whole-wheat flour. Then add your baking soda on the very top. |
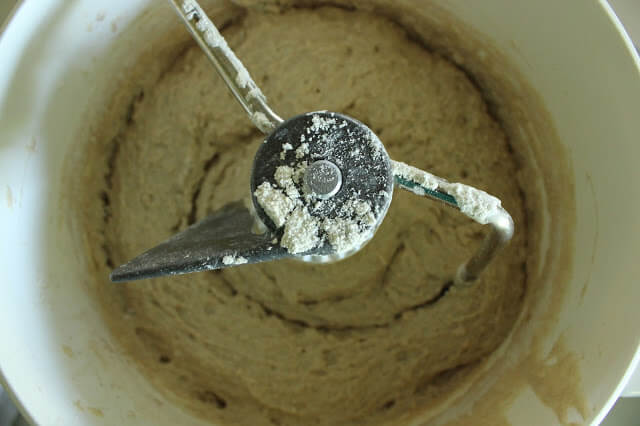 |
| Slowly add your last cups of flour. Here’s where the amount of flour may differ. |
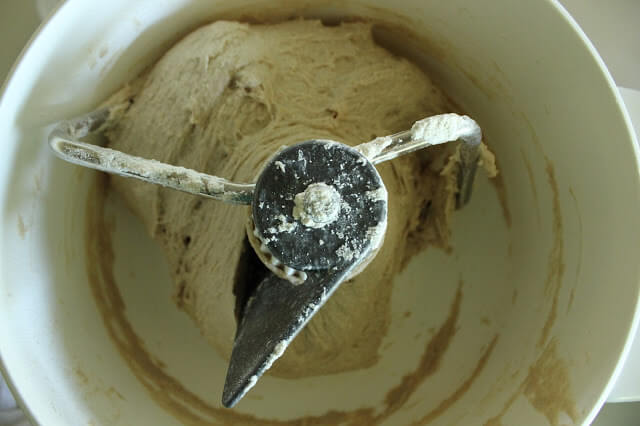 |
| Once your dough pulls away from the sides and begins to gather in the center, stop adding flour. |
 |
| Cover the mixer and let Betty mix for a full 7 minutes. This will help build the gluten and by covering it you’re building up some warmth in the dough to help it rise later. |
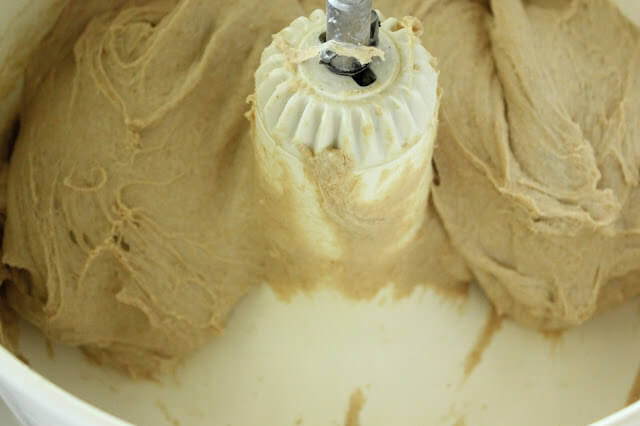 |
| Your dough should look nice and smooth & sticky. |
 |
| Get a bowl of warm water ready. You’ll see why in 2 seconds. |
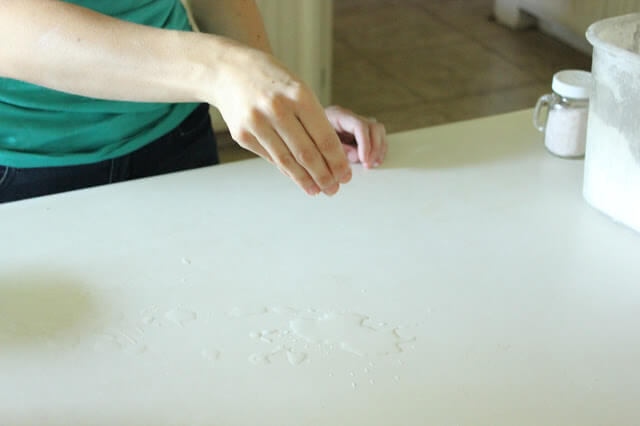 |
| Instead of flouring a surface for kneading, you’re going to knead on water. Crazy, I know. By using just a bit of water, you can avoid drying your bread out. |
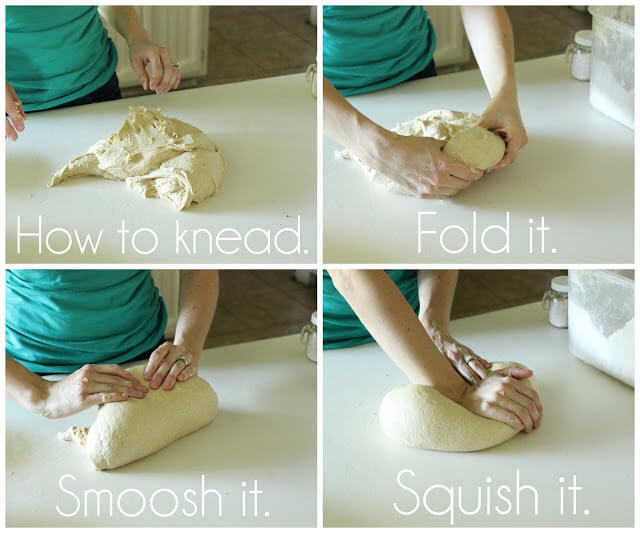 |
| Here are my highly technical instructions for kneading. Repeat this sequence about 15-20 times. |
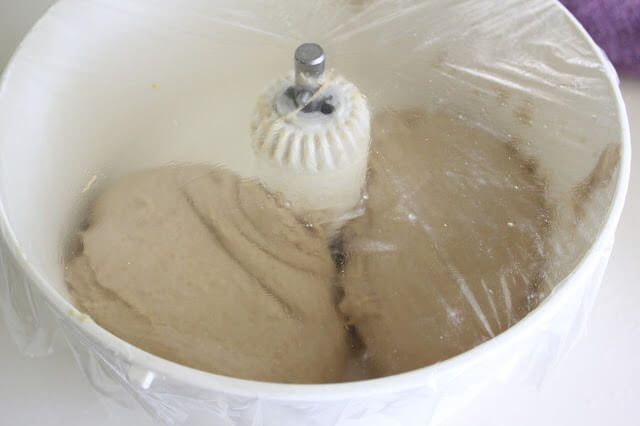 |
| After you’ve kneaded the dough, slap it back in the mixer and cover it with some plastic wrap. Set your oven to 350 degrees, then let it preheat for ONLY 30 seconds and turn it off. You are creating a warm place, NOT preheating your oven to 350 degrees. Place your mixer bowl in there and let it rise for 3 hours or until doubled. |
After it’s risen, knead again…
 |
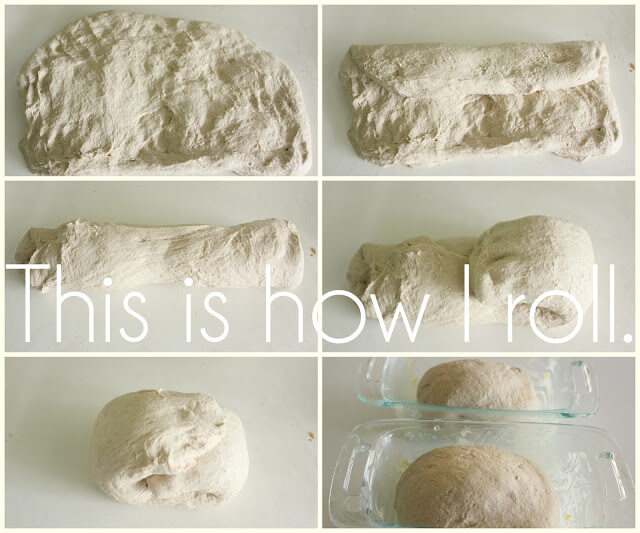
| Now you can form the dough into two loaves. |
 |
Preheat the oven again at 350 degrees for only 30 seconds and place your bread in there UNCOVERED for about 1 1/2 hours. Place a pan of water on the lower rack to keep the dough from drying out. Once the dough has doubled in size, remove from the oven and preheat it to 350. |

I saw others asking the same question that I had in mind immediately. Your directions say to Preheat oven to 350 degrees for 30 seconds. It does NOT say whether to allow the oven to get up to the preheated temp of 350 then wait 30 seconds or to merely turn it on as if you were going to actually preheat the oven to 350, then shut it off 30 seconds into the preheat cycle. Could you be ever so slightly more specific?
FULL PREHEAT THEN WAIT 30 SECONDS
-or-
30 SECONDS FROM THE MOMENT YOU TURN ON THE OVEN ??
Yes, I’ll clarify it in the post. Thanks:)
I see that my question is not very clear. It is actually twofold. 1. Is it ok if I use sprouted flour in my starter? 2. Is it overkill to use sprouted flour in the recipe that includes sourdough starter?
I have heard of people experimenting with sprouted flour and gluten free flours, but I can’t vouch for a good outcome. I definitely think it’s worth a try though!
I am loving this blog! So much valuable information. Thanks so much for the help! I am beginning to dabble in using wheat berries to make my own flour. I’ve been sprouting and drying and freezing and grinding. (and sometimes freezing again!). Now I’m getting involved in the sourdough/natural yeast process and your information is invaluable!
i have one question that I have not seen asked when looking through all the posts here.
Is is ok to use natural yeast with a sprouted flour? Probably not, but was wondering…
I have been using natural yeast for a couple of months now, everyone loved it, unfortunately the yeast did not love me. My hands have completely broken out and have contact dermatitis now. Was so disappointed, I even tried to wear gloves when I handled it but can’t even eat apparently.
Have you ever heard of anyone having this reaction? Could it just my natural yeast has picked up a strange bacteria? Any thoughts, thanks Cherri
Hi Cherri,
No, I have never heard of that. It’s possible that you are allergic to the gluten in the flour you use.
Ok so I ended up with pneumonia and spent nearly a week in bed. My hubby and kids did not feed my starter on the counter. Is it dead or can I resurect it?
I would probably toss it if it’s been on the counter. If it was in the fridge, I would save it:)
I went to a homesteading festival recently and went to a session on fermentation. I’m all excited now to include more to my repertoire than homemade yogurt, regular homemade bread, and laundry soap. Just bought kefir grains and am getting a kombucha start from a friend… Can’t wait to try your recipe!
Hi – I was wondering if using dehydrated sprouted wheat flour would affect the quality of the bread?
Does the temperature actually reach 350 degrees for 30 secs or just on its way to 350 in thirty seconds.
Glad to have found your site.
Question: Since the flour is only soaking for 3.5 hours, how much of the phytic acid is removed?
I’m so excited to make this, by the way. My kids have been refusing to eat my traditional sourdough bread, and I’m hoping they’ll go for this one.
It’s about 4.5 hours total that it’s soaking, but natural yeast has spores that can protect themselves against the heat of the oven, so even after you are finished baking, sourdough bread will continue to break down the phytic acid.
I think I figured out when you are talking about yeast you’re “not” saying the granualted yeast from the store-right?
ALSO your ads on the right of the screen are covering up some of your instructions (text). For instance look at the sentence that starts with “PREHEAT”…..
Oops sorry about that ad, my tech guys are still trying to figure it all out:) Yes, I’m talking about sourdough yeast in this post.
So you leave the pan of water in the oven while the bread cooks?
Do you leave the pan of water?
I take it out during baking:)
Thank you so much for this! I’ve been making our own bread for a few months and have been excitedly growing several kinds of starters but found that my flour/water starter made very sour bread. I was adding equal flour/water amounts but not equal to the amount in the starter. I think wasn’t taking away enough. Also, I noticed that your instructions were much like the kefir I’ve been making. Sometimes it’s ready and it hasn’t been 24 hrs. I will try again and with your recipe to reduce the sourness.
I have the same problem as Taylene mentioned back in November: my dough rises wonderfully throughout the process but then ends up with a flat top and dense texture. In previous experience making bread without natural yeast, it continues to rise more as it is baking to create the rounded loaf, but this bread doesn’t rise at all once the baking process starts.
Any ideas?? Thanks!
Hi, Danelle,
Thank you for posting this recipe online. I just tried it and I have some questions for you, if you don’t mind answering them:
1. The bread recipes I have used so far usually have the ratios about 35-38% water of the flour amount. Your recipe calls for about 50% ratio of water and flour. What would more water do?
2. This question is related to #1: I have found that more water content yields more chewiness. Is it just me feeling this way, or it is indeed what more water is for. My earlier thought was that more water would make bread tenderer, yet it was not true when I tried baking bread with more water.
3. The texture of the bread I made by using your recipe looks and tastes similar to English muffins. Is this texture so because of more water in it, less oil, and with baking soda to have the gases here and there? Is cibata bread using similar recipe ratios with baking soda? Regular bread always has this stringy texture that stretches, while English muffins and cibata bread have big air pockets here and there. Yet English muffins’ texture are almost like half bread and half cake, which is different from cibata bread. The latter still has the stringy texture yet with big air pockets. Is it because baking soda? The dough of this recipe was very stringy and stretchy before being baked. When it’s done baking, its texture is less stretchy. I found this fascinating! Would you mind explaining why?
In general, I am interested in learning the science of this recipe. I would like to know the facts, so I can bake according to what texture of bread I like. Thanks
Could you do the first 4 steps in a bread machine on the dough cycle?
Yes!
Do you know of a website that you can purchase good quality sourdough bread? I am not much of a cook, and I am scared to make my own bread or spend a ton of time making it. Or do you know of a brand of sourdough bread I can look for in my local stores, Trader Joes or Whole Foods? Thanks!
To answer Adrianne’s question, the solar oven doesn’t usually make for a crunchy bread crust, in my experience. I was excited to see that the baking temperature will allow me to use my solar oven!
DaNelle? Anyone? Does anyone know if the vanilla extract really belongs? Seems quite odd!
Yes, the vanilla extract adds a depth of flavor, it’s very slight:)
Vanilla extract? Is that a mistake?
Nope! It makes it delish!
I really liked the bread! Thanks for the recipe!
I have a lot of trouble with my bread going flat on top. Can anyone help me know what to do to keep it nice and round?
Saludos…here in Puerto Rico the weather is warm all the time would that affect the end result? And I already tried the baking soda last night in a recipe I wad making and helped control the sour taste..which is good, but I wonder if I could add yogurt, honey or add oatmeal to the recipe to give it some interesting taste?
Oh my gosh, you have a Bosch! I thought I was the only person in the world who doesn’t have a kitchenaid. But they’ll have to pry my Bosch from my cold dead hands lol. I’ll have to try this recipe. I usually only make whole wheat bread. Yay!
I am very excited to try your recipe. I’m new to the sourdough world and the first recipe I tried was way too sour – we threw it out!! So then I found your recipe. I started to make it, however, when I went to measure my yeast starter, I had about 4 cups in a quart sized jar, but as I tried to move it into a measuring cup, I ended up with only 1 cup!!! (All the bubbles disappeared! So how do you measure the starter accurately?
Thanks so much for the help, and if I missed this answer above in the comments (which I did read through), I’m sorry. Looking forward to your response!
Terry
Are the two rise periods totaling 4 1/2 hours enough to break down the flour or are you using sprouted flour?
I read somewhere that it takes 6 hours at least for the yeast to break down the flour sufficiently. (I wonder if that’s true?) It would be easy to let this dough rise a little longer. Instead of 3 hours for first rise, just let it go for 4 and 1/2.
So I’ve tried this recipe twice and it hasn’t turned out both times. It seems REALLY watery. So I end up adding more (and more) flour. It raises okay the first time, but then when I put it in the pan again and let it raise, it raises flat-like. Then when I cook it, the crust is super crusty (like I need a chisel to get it out of the pan). Any thoughts on what I may be doing wrong? Is it an altitude thing? (I’m at a very high altitude). Or is it the water? Really 2 cups? I feel like I’m adding more like 6 cups of flour to get it even somewhat workable. Otherwise it’s like the consistency of a quick bread like banana bread. Help! 🙂 I really want this recipe to work for me!
It very well could be the altitude. Start with 1 cup of water and see how much flour that needs.
Can I make this with a gluten free flour as that is one of my allergies 🙁
Hi… Yes you can but the results wont be nearly as fluffy (unless you add egg perhaps)…
My recipe – which I play by ear so to speak – is about 1 1/2 cups of uncooked brown rice. Soak it in filtered water… after about 8 hours you might start seeing tiny bubbles… that’s a good thing. Keep on soaking it for about 2 days (48 hours) or until you see lots of bubbles and the smell is sour… At this point, if you want really sour bread, you blend it together with the soaking water. If you want milder bread, you throw out the soak water (or add a bit to another batch of rice to get it going quicker). Anyhow, you add just enough water to the blender to get things going… Then once nicely blended, pour into a bowl, add about 2 tablespoons of corn or tapioca starch, 1/2 tsp of xanthan gum, salt to your liking and 1 tablespoon of oil. If you could do eggs, you can try adding one too. The consistency should be like a really thick pancake batter. Pour into a bread pan and leave it in a warm moist place for a few hours until you see lots of bubbles and your batter has risen (I would say doubled)… If it hasn’t risen any in a few hours, then cheat and mix in 1/2 tsp of instant yeast. Let double and carefully place into a hot oven.
The result is a dense bread, but it tastes a lot better if you slice it and toast it with a bit of butter to soften it.
Anyhow, this is more of an experiment for me, rather than an exact recipe… Good luck!
Thank you so much for the recipe.
In india we do a steamed bread out of fermented brown rice & black lentils in the same way . It is called ‘idli’ . I think i can merge that to give the natural yeast for wheat bread.
Thanks for the nice idea!
Hi DaNelle, for this brown rice bread – do you soak the rice in plain water or water with vinegar added?
Hi Kathy,
I’m not sure how to adjust the recipe for brown rice bread. Try it and let us know how it turns out:)
Can I make this with a gluten free flour as that is one of my allergies 🙁
would halving the recipe work? My family can never go through 2 loaves of homemade bread before it goes bad.
You could freeze the 2nd loaf until you need it. Bread freezes wonderfully 🙂
How would you make this without a mixer? Looks so great!!
Hmmm, I’m not sure. Just mix really well with a spoon I guess. I’ll work on a recipe for ya’!
I’m so happy you posted this! I love using my sourdough starter for bread and don’t always love the sour taste 🙂 Can’t wait to try it!
After complaints about all the sourdough everything, from my husband, I found this article. I’m trying a batch of bread and buns right now.
Does the baking soda kill off any of the bacteria (they would be important in helping prepare the grains right?) or just counteract the sourness?
Thank you, thank you, thank you, this look lovely, I cant wait to try it! 🙂
Do you have a whole wheat sour dough starter?
I have made sourdough in the past. I would like to try your method of leveling out the starter and doing a less sour sough. However, my issue with the last attempt was the super crunchy crust. I hate crunchy dark crust. Especially when we are talking about divine things such as PB&J. My last recipe really did need the 40-50 minutes to cook the middle well enough. So how to make a soft normal colored crust?
I did recently purchase a sun oven and kind of want to try doing bread in it. I heard that it takes a long time for it to actually brown bread in a sun oven, which is perfect for me.
A trick I learned when baking bread, for a soft finished crust, immediately upon removing the bread from the oven, slather melted butter all over the top, then quickly tent with wax paper or some other moisture barrier, then lay a wet HOT tea towel over the wax paper and let the bread sit like that for about 10 minutes before you take it out of the pan to cool on the rack. It really helps the crust soften back up and stay soft.
Do you use white or wheat flour?
Hey Shaye, yes it’s whole-wheat — totally forgot to put that!
Love it! Can’t wait to try. I’m always up for a good bread recipe!
Ok, so when you say natural yeast, are you meaning your sourdough starter? Also what kind of flour are you using here? Forgive me if you answered this in your post and I just didn’t read well enough. 🙂
Yes natural yeast/sourdough starter/wild sourdough — they’re all the same thing:)